
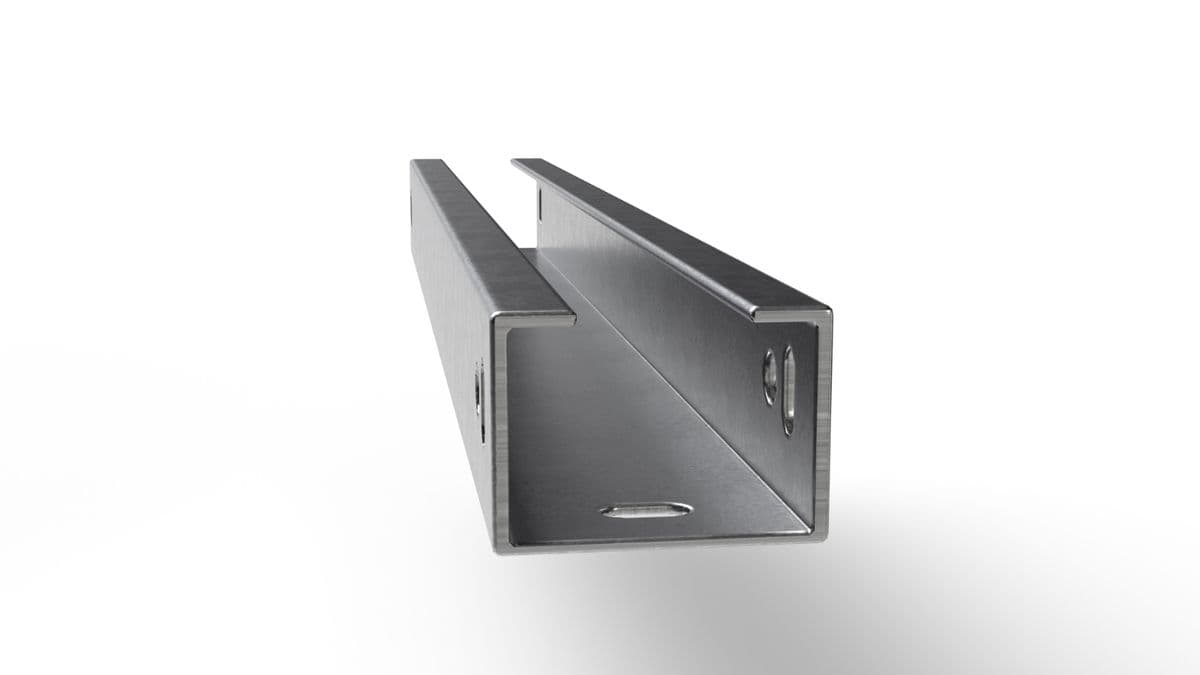
Solar Purlins & Module Rails — C, Z and Omega
The horizontal members that carry the modules: C and Z purlins sitting on the posts and chords, and omega rails the module clamps bolt to — light, stiff and punched in-line down to the last hole.
Specifications
- Sections
- C purlin · Z purlin · Omega rail
- Thickness
- To drawing, 1 – 6 mm line range
- Material
- S250GD – S450GD
- Coating
- Zn-Al-Mg ZM120–ZM430 · Galvanized Z275–Z600
- Holes
- Clamp slots, connection and splice holes in-line
What purlins and rails do
On a ground-mount table the load path runs: module → module clamp → rail or purlin → rafter / top chord → pile → ground. Purlins and rails carry the module weight plus wind and snow load into the rafters and chords.
Purlin spacing is set by module size, the clamping zones the module manufacturer allows and the loads — which is why we design the section and hole pattern with the rest of the structure. See the fixed-tilt mounting system.
C, Z or omega?
C purlin: simple and common in single-span use. Its shear centre lies outside the web, so it tends to twist under load; connections and lateral restraint are detailed to account for that.
Z purlin: its opposed flanges let purlins lap end-to-end over the supports. Lapped Z purlins act as a continuous beam along long rows, reducing deflection and weight.
Omega (hat) rail: symmetric about its vertical axis, with outward feet that give a wide mounting face — a light, stiff rail for the module clamps.
Hole and slot patterns
Clamp slots, connection holes and splice holes are punched on the roll-forming line in the same pass as the forming. Identical hole positions along long rows remove alignment problems on site.
Steel and coating
We roll purlins and rails in S250GD–S450GD from Zn-Al-Mg (ZM120–ZM430) or galvanized (Z275–Z600) pre-coated coil. Zn-Al-Mg's self-healing cut edges matter most on heavily punched rails and purlins — see our Zn-Al-Mg guide. We also supply ZM-coated sheet as raw material.
Example purlin and rail sections — weights and section properties
| Section h×b×c×t (mm) | A (cm²) | Weight (kg/m) | Ix (cm⁴) | Wx (cm³) |
|---|---|---|---|---|
| C 100×50×15×1.5 | 3.30 | 2.59 | 53.5 | 10.69 |
| C 100×50×15×2 | 4.34 | 3.40 | 69.2 | 13.85 |
| C 100×50×15×2.5 | 5.34 | 4.19 | 84.0 | 16.80 |
| C 150×60×20×1.5 | 4.50 | 3.53 | 158.8 | 21.17 |
| C 150×60×20×2 | 5.94 | 4.66 | 207.2 | 27.63 |
| C 150×60×20×2.5 | 7.34 | 5.76 | 253.4 | 33.79 |
| Z 150×60×20×1.5 | 4.50 | 3.53 | 158.8 | 21.17 |
| Z 150×60×20×2 | 5.94 | 4.66 | 207.2 | 27.63 |
| Z 150×60×20×2.5 | 7.34 | 5.76 | 253.4 | 33.79 |
| Z 200×70×20×1.5 | 5.55 | 4.36 | 341.0 | 34.10 |
| Z 200×70×20×2 | 7.34 | 5.76 | 446.8 | 44.68 |
| Z 200×70×20×2.5 | 9.09 | 7.13 | 548.8 | 54.88 |
| Ω 40×50×20×1.5 | 2.45 | 1.92 | 6.2 | 2.97 |
| Ω 40×50×20×2 | 3.22 | 2.53 | 7.9 | 3.82 |
| Ω 40×50×20×2.5 | 3.96 | 3.11 | 9.5 | 4.61 |
| Ω 50×60×25×1.5 | 3.05 | 2.39 | 12.2 | 4.72 |
| Ω 50×60×25×2 | 4.02 | 3.15 | 15.7 | 6.11 |
| Ω 50×60×25×2.5 | 4.96 | 3.90 | 19.0 | 7.42 |
Theoretical values: 7.85 g/cm³, inner bend radius equal to thickness, coating excluded. Ix and Wx are gross-section values about the horizontal centroidal axis (centre-line method); effective properties to EN 1993-1-3 are lower depending on stress level. Sizes shown are examples — any size within the stated range can be rolled; the project's structural calculation sets the final section.
Frequently asked questions
Why are Z purlins lapped?
+
A Z-section's flanges point in opposite directions, so two purlins can nest and overlap over a support. The lap carries the support moment and the purlins behave as a continuous beam along the row — the same load is carried with a lighter section.
Omega rail or C purlin?
+
An omega rail's symmetric section and wide face suit module clamps; a C purlin is chosen for longer spans and higher loads. Many systems use both: C or Z purlins span between chords and omega rails carry the modules.
How is purlin spacing set?
+
Module size, the clamping zones the module manufacturer allows, wind and snow load and the layout (1V/2V) are taken together; the structural calculation optimises purlin section and spacing as a pair.
Related profiles
C-Pile
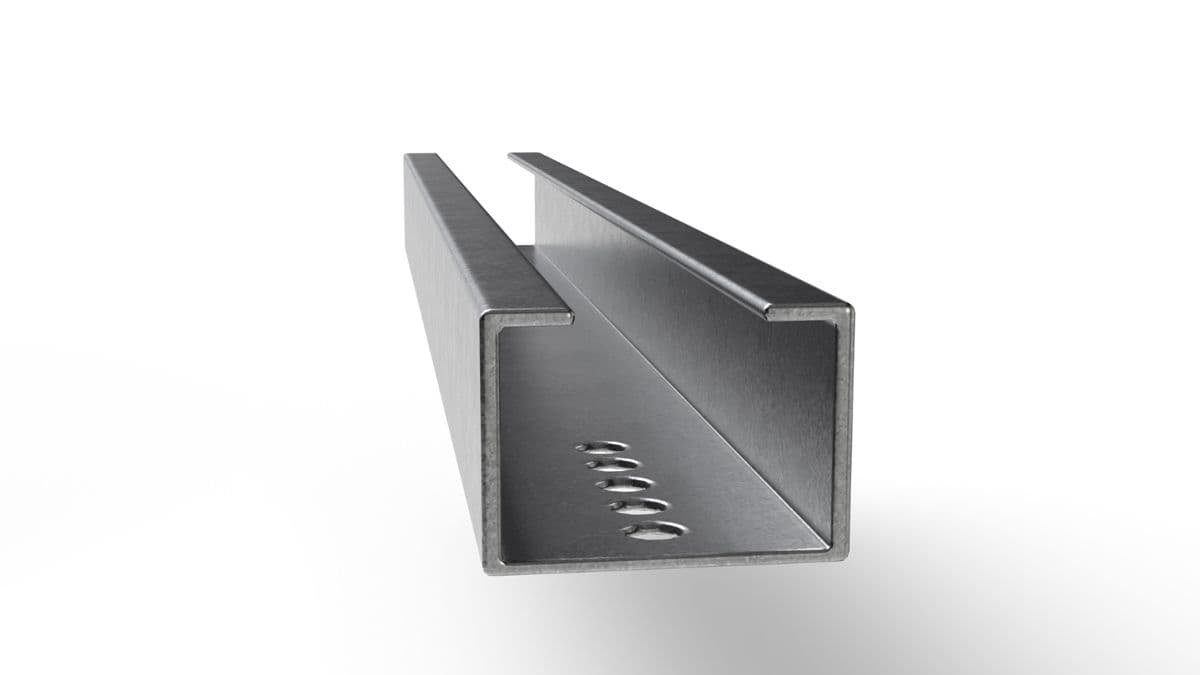
The primary driven post. Lips stiffen the flanges against buckling; the open face takes brackets anywhere along its length.
Learn More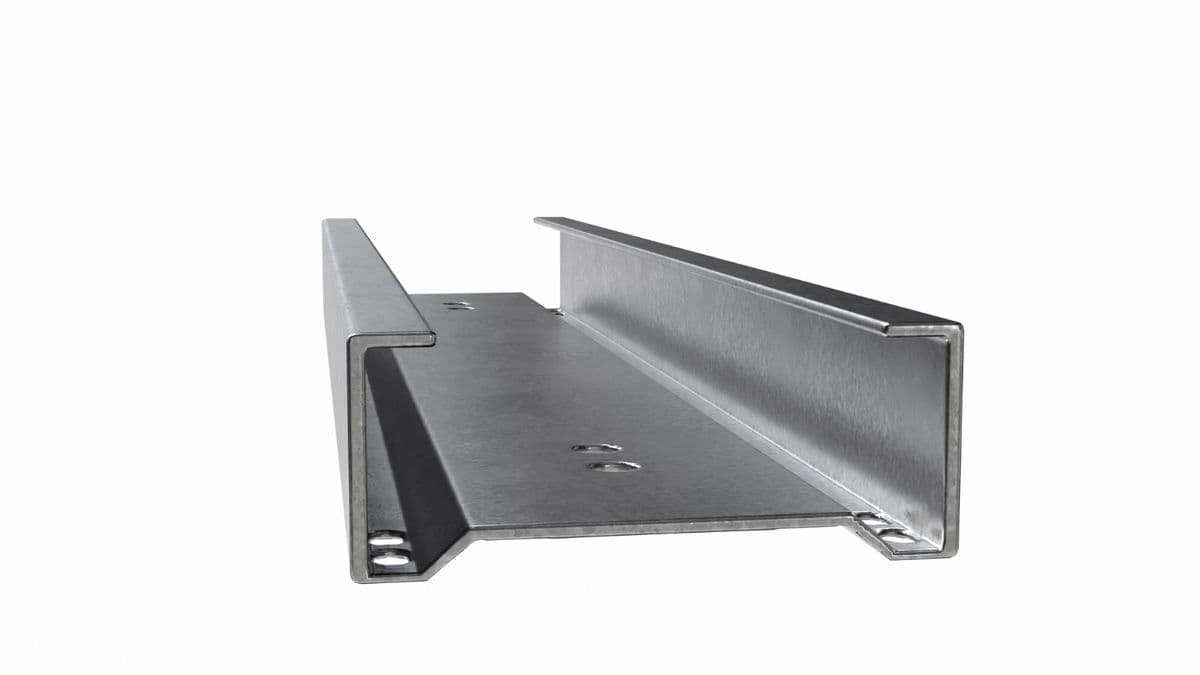
Sigma Pile
Stepped, rib-stiffened web — more moment at the same gauge, and grip for deeper embedment in soft ground.
Learn More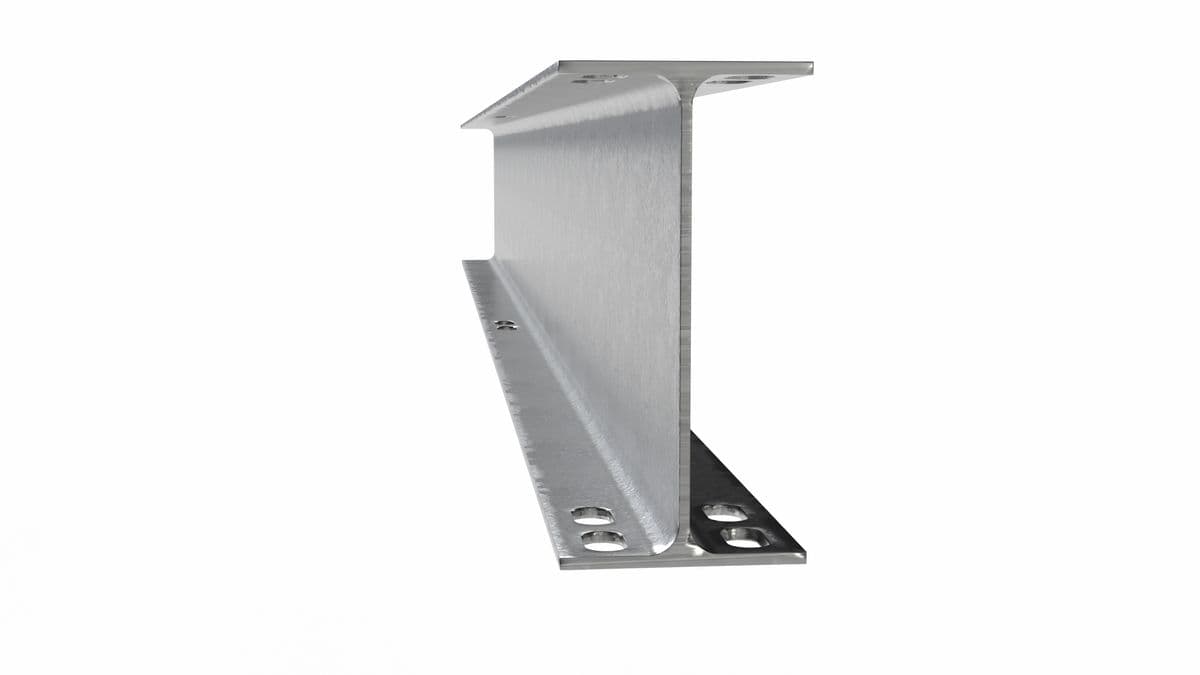
W-Beam Piles
Wide-flange beams for tracker posts and long spans — W6 to W12, slotted or plain, galvanized.
Learn More